
How to Collect மொய் Using a QR Code on Your Wedding Card
Put a QR code on your wedding or invitation card so guests can contribute via UPI. One link, one place to track—no lost screenshots or scribbled names.
The invitation goes out. Relatives and friends want to give. The question is how: a link in a WhatsApp group that scrolls away, a UPI number someone has to type, or a QR code they can scan from the card itself. Putting a QR code on your wedding or event card means the contribution link is right there—no digging for messages, no typing mistakes. Guests scan, pay with whatever UPI app they use, and you track everything in one place.
Here’s how to set that up in Moi and get a QR code you can print on your card.
1. Create your event
In Moi, open the create flow and add a new event—e.g. “Akash Wedding” or your function name. Click Create to finish.
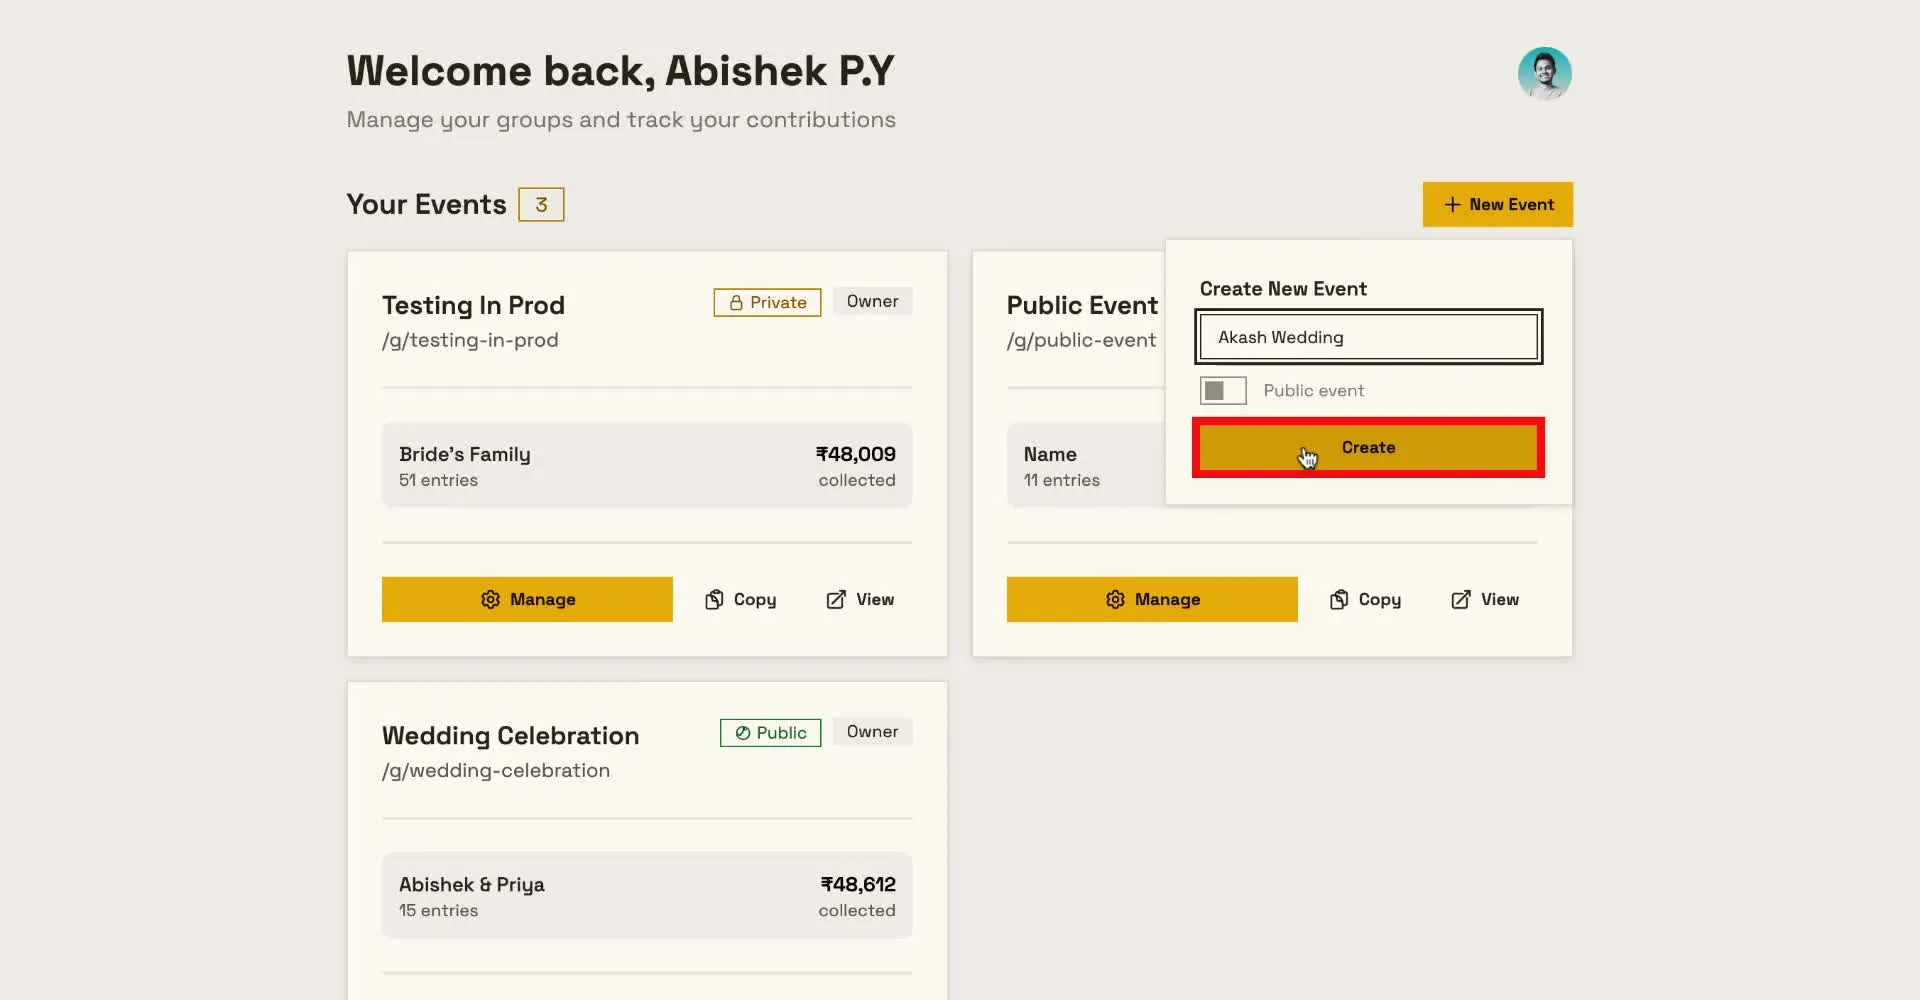
You’ll land on the event. Next step is telling Moi where the money should go: who receives it and which UPI ID to use.
2. Add at least one recipient (name + UPI ID)
Contributions are tied to recipients. Add the person (or account) that will receive the UPI payments.
- In the form, enter the Name (e.g. the bride, groom, or family member).
- Enter the UPI ID that will actually receive the money (the same ID you’d share for UPI payments).
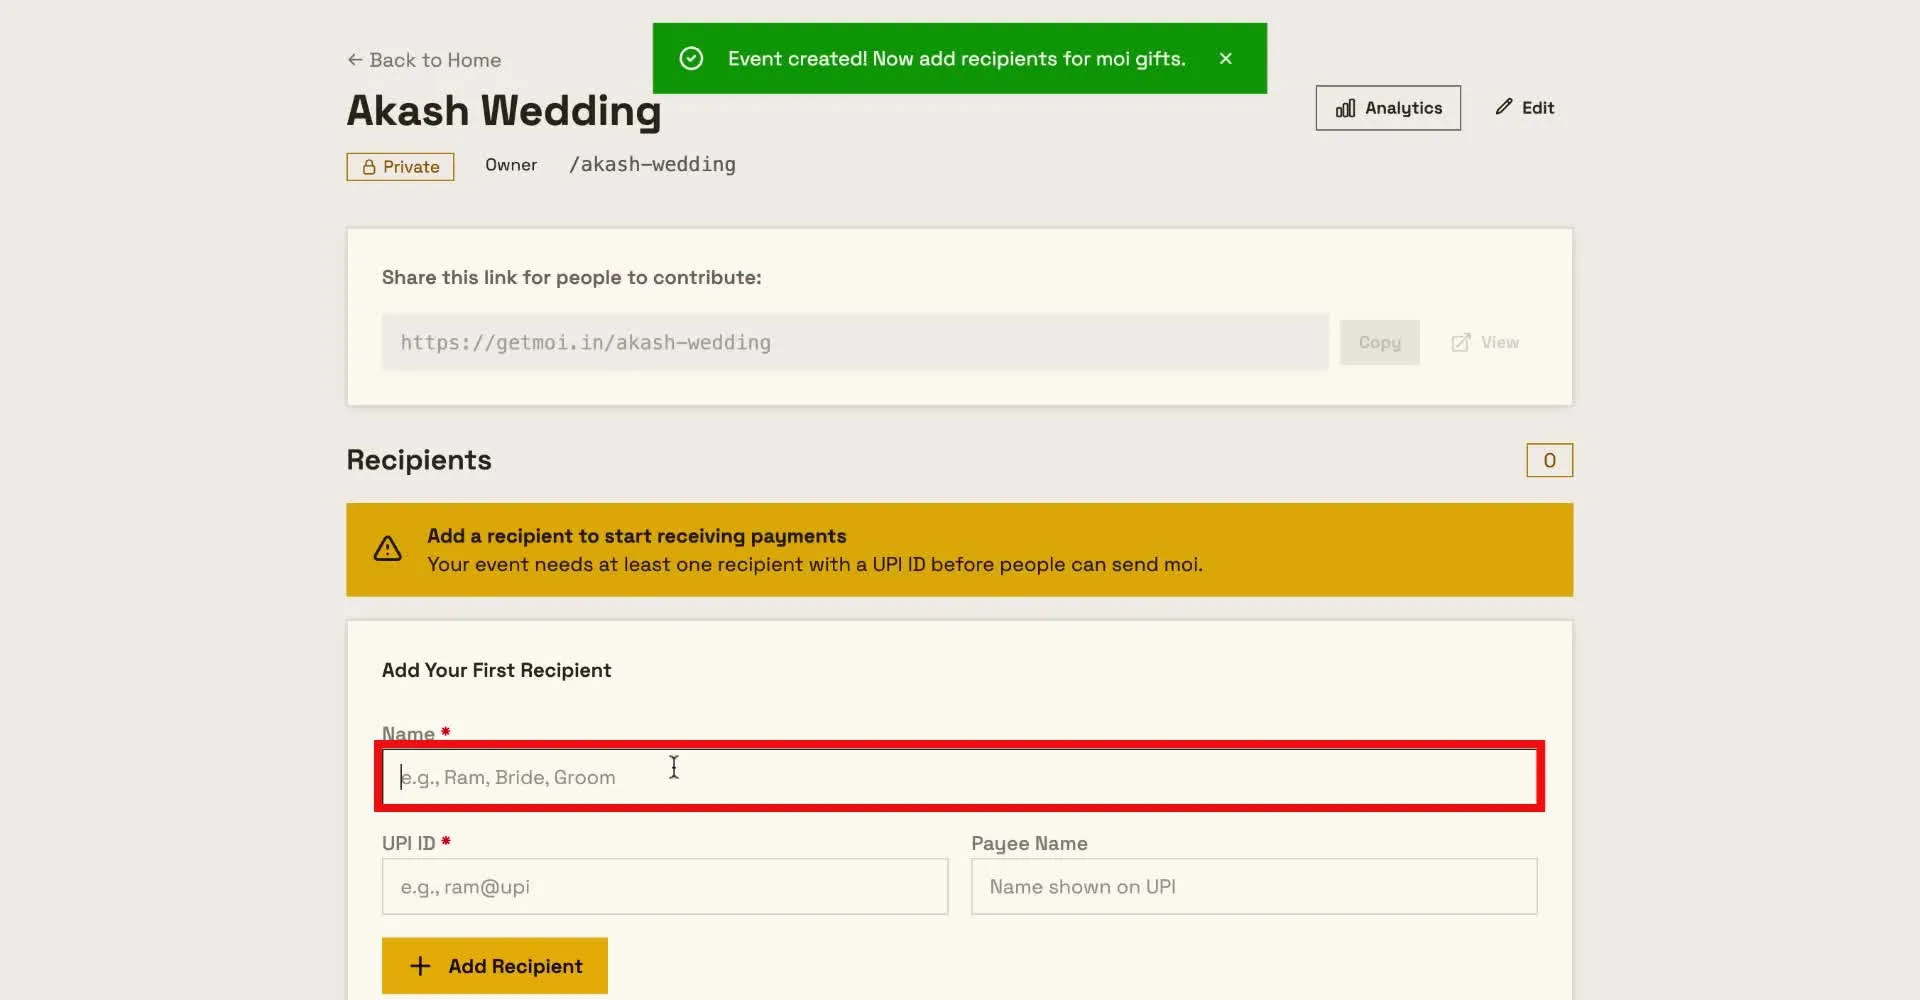
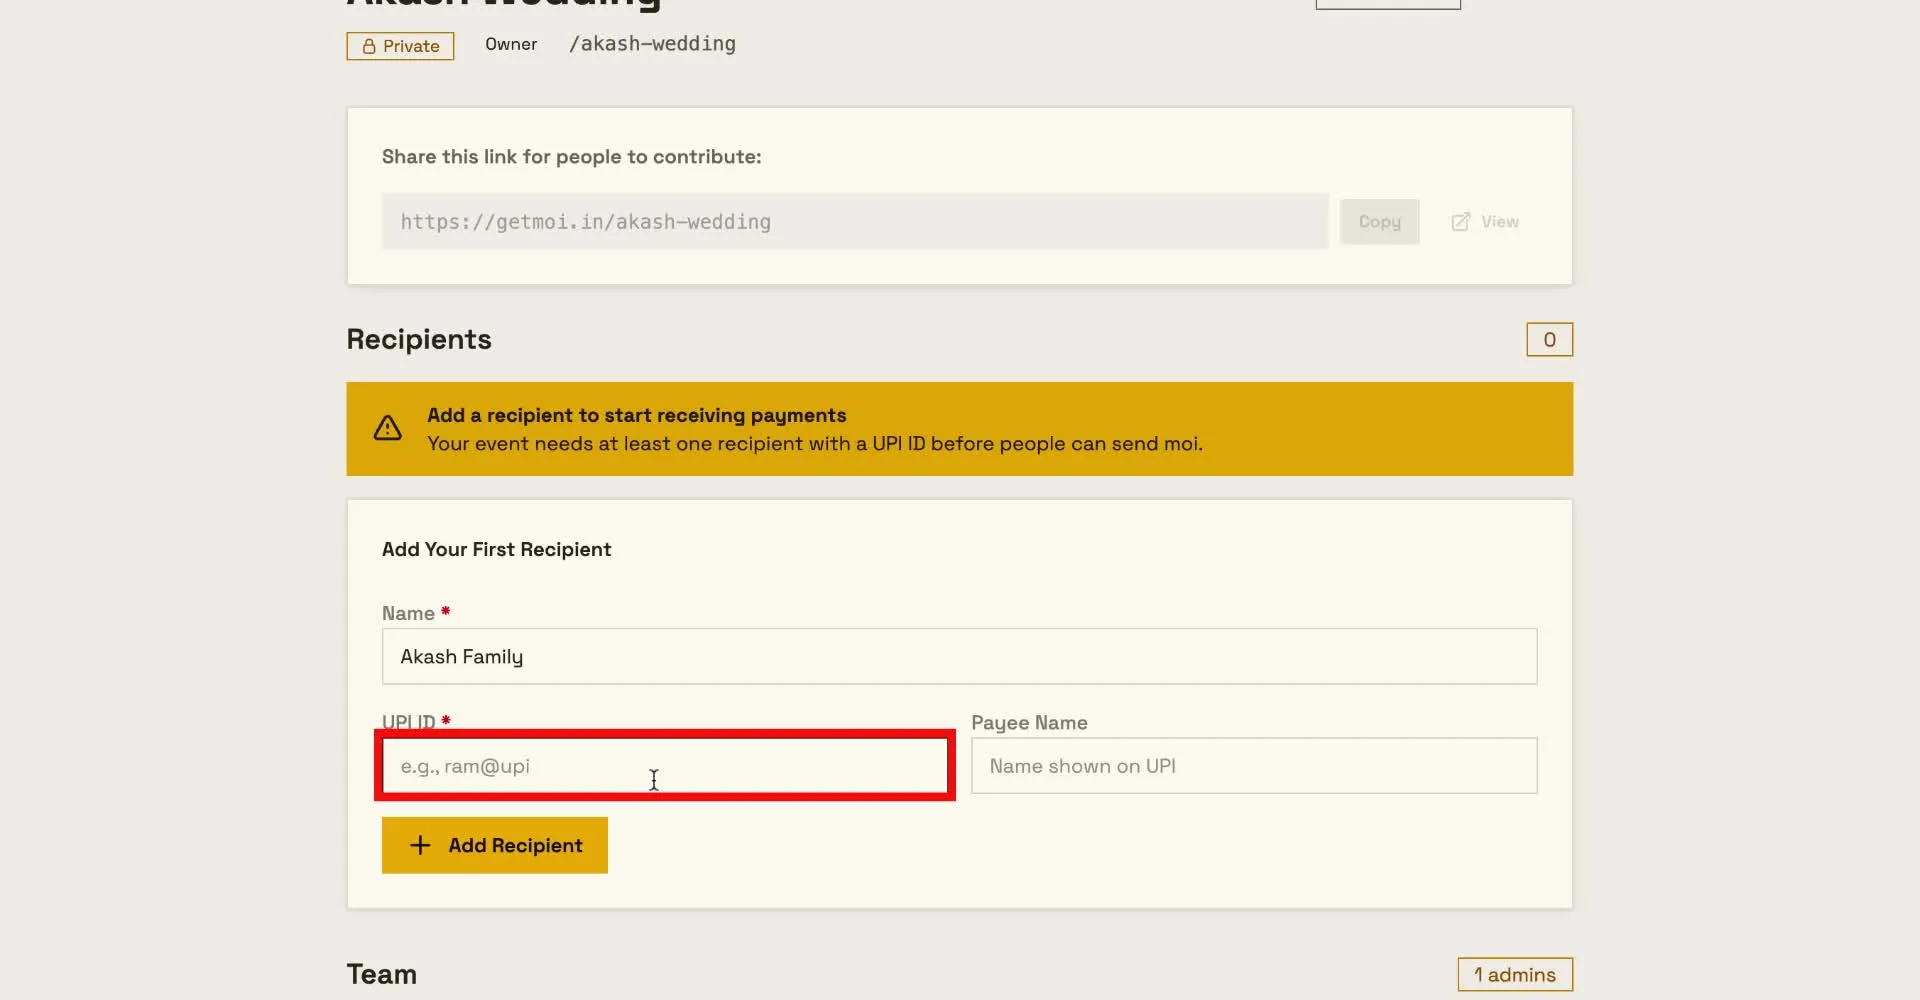
Then click Add Recipient so the recipient is saved. You can add more than one if different people are receiving (e.g. separate IDs for bride and groom).
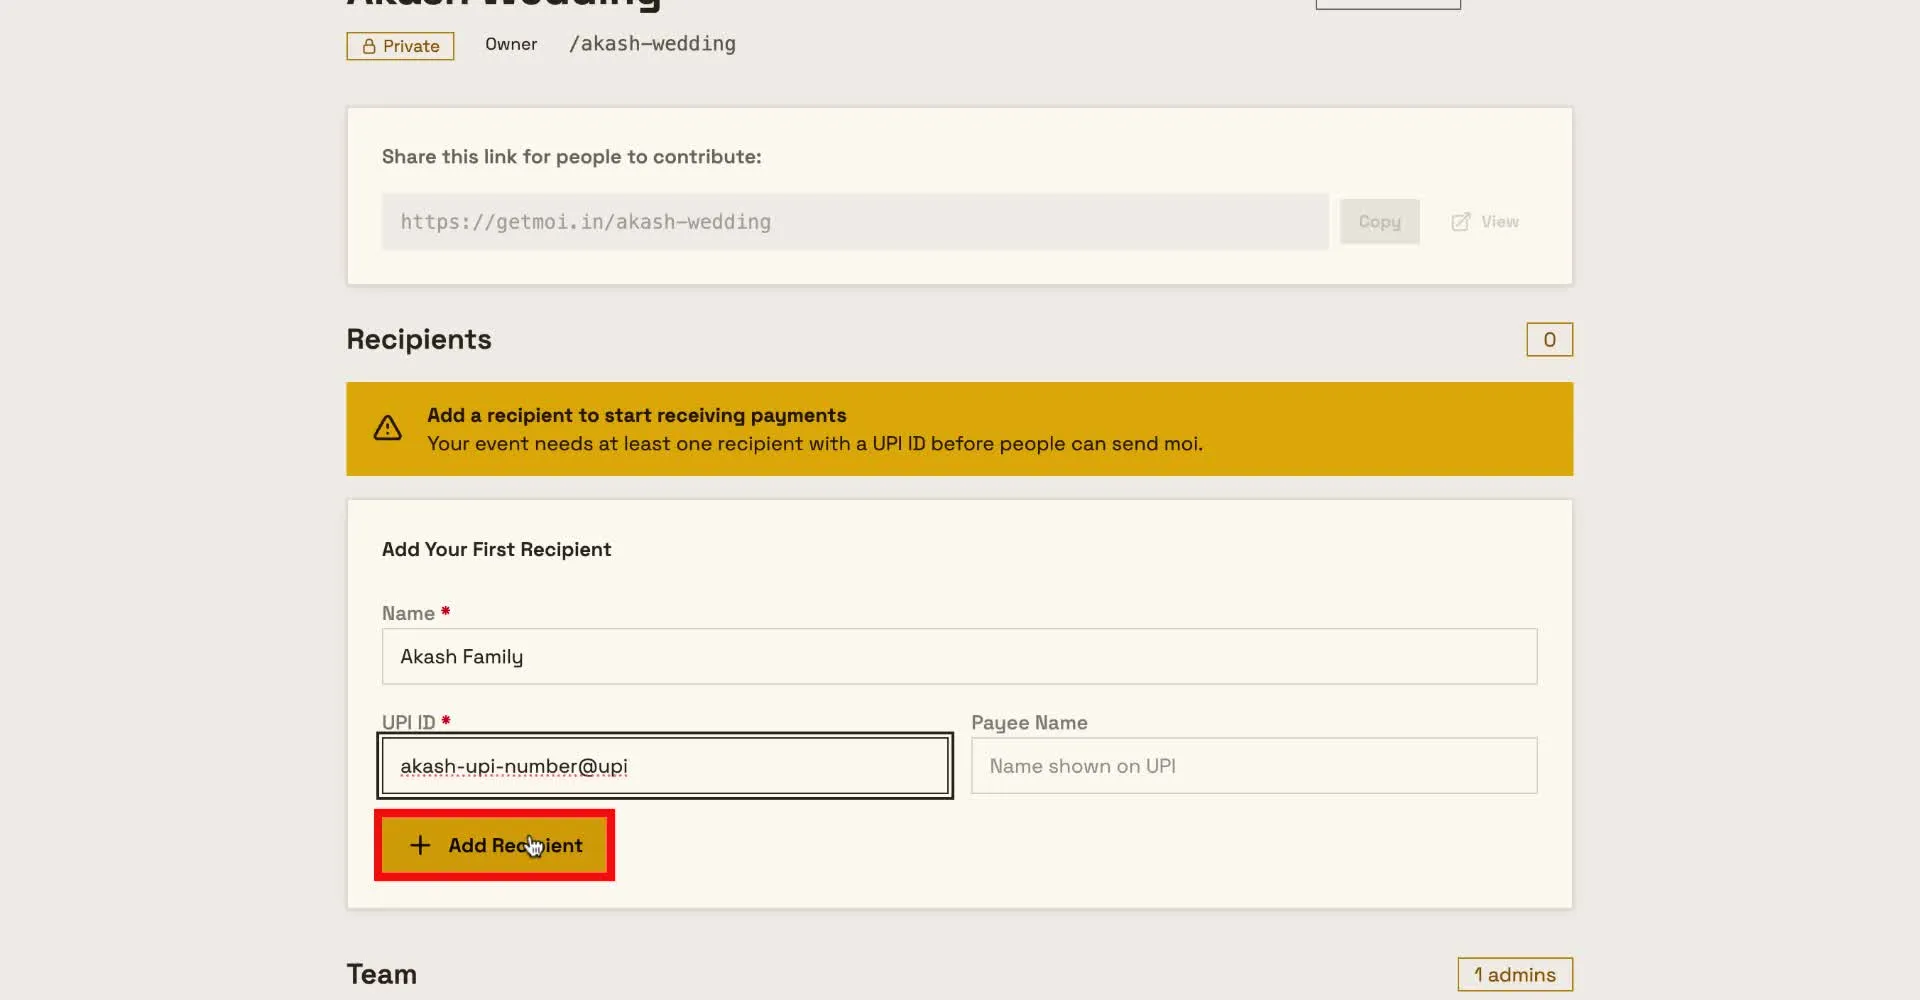
Once at least one recipient is added, the event has a live contribution link. That link is what you’ll share and turn into a QR code.
3. Get the contribution link (and copy it if you need it)
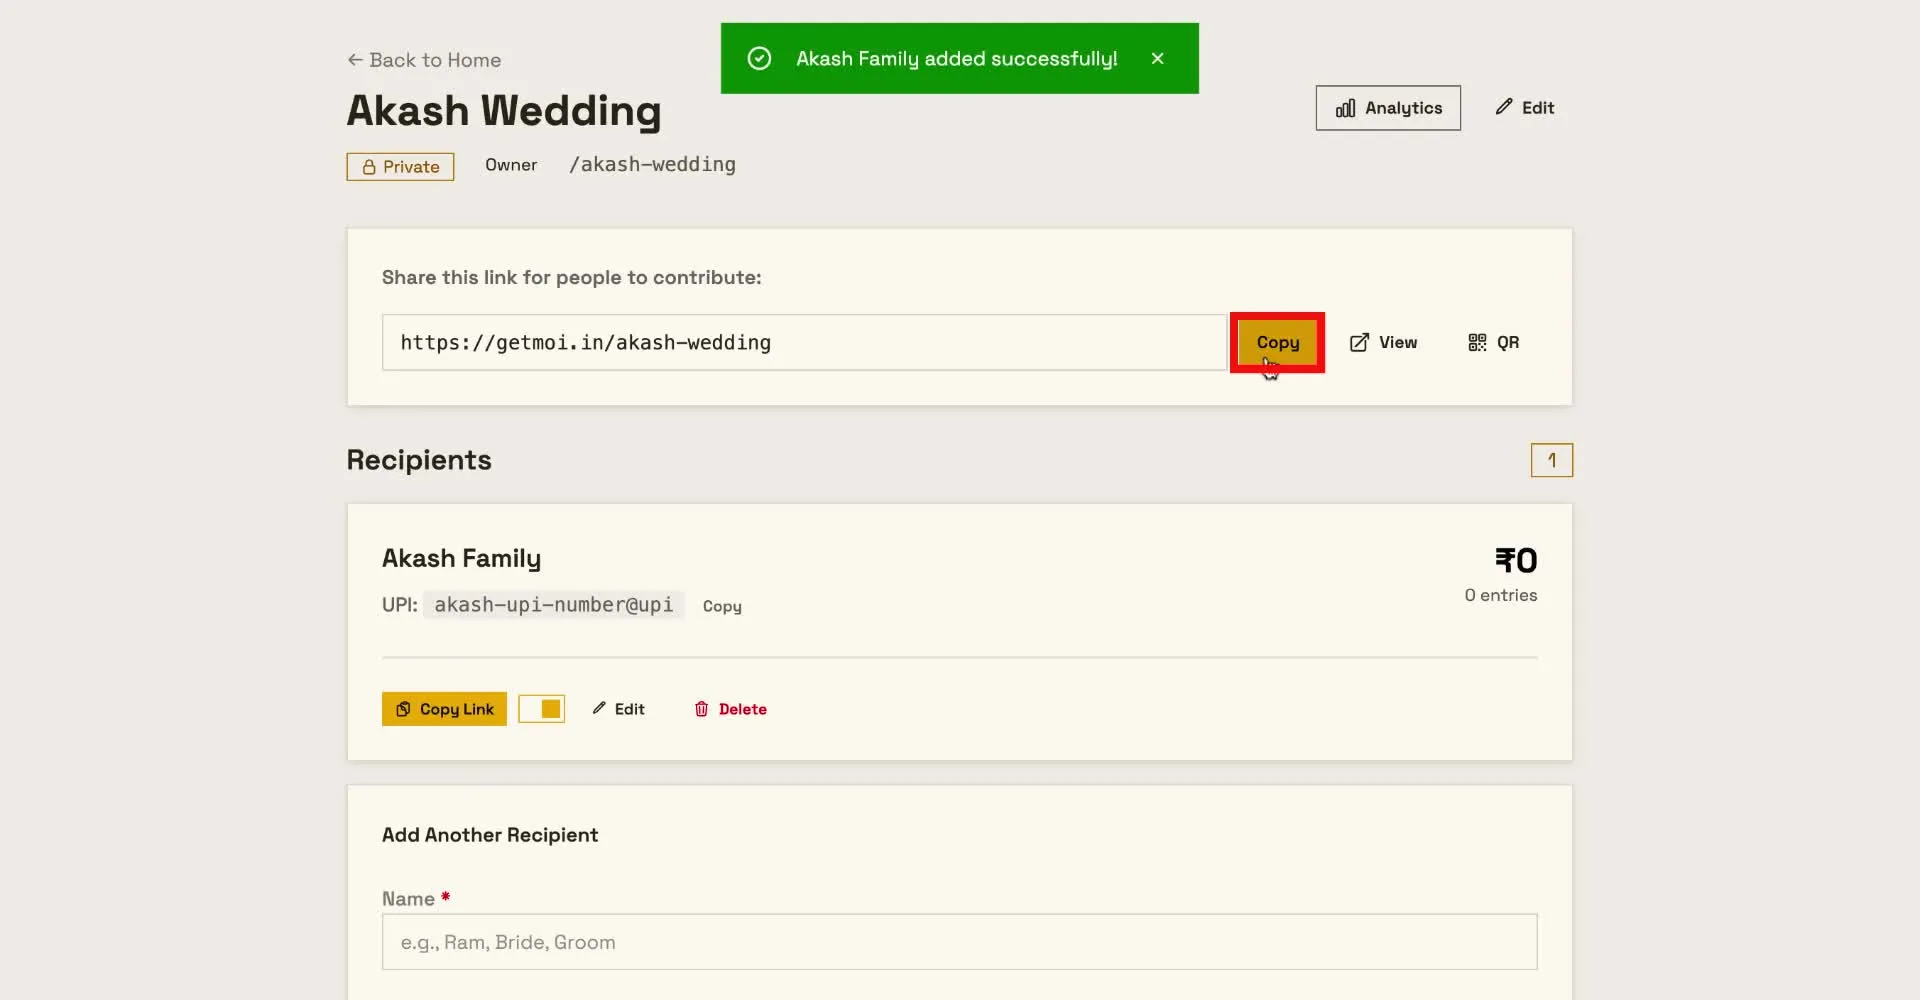
In the navigation for that event, use Copy to copy the contribution link. You can paste it into WhatsApp, email, or any message. Anyone opening the link can see the event and pay via UPI; you’re not changing how they pay, only where they land and how you track it.
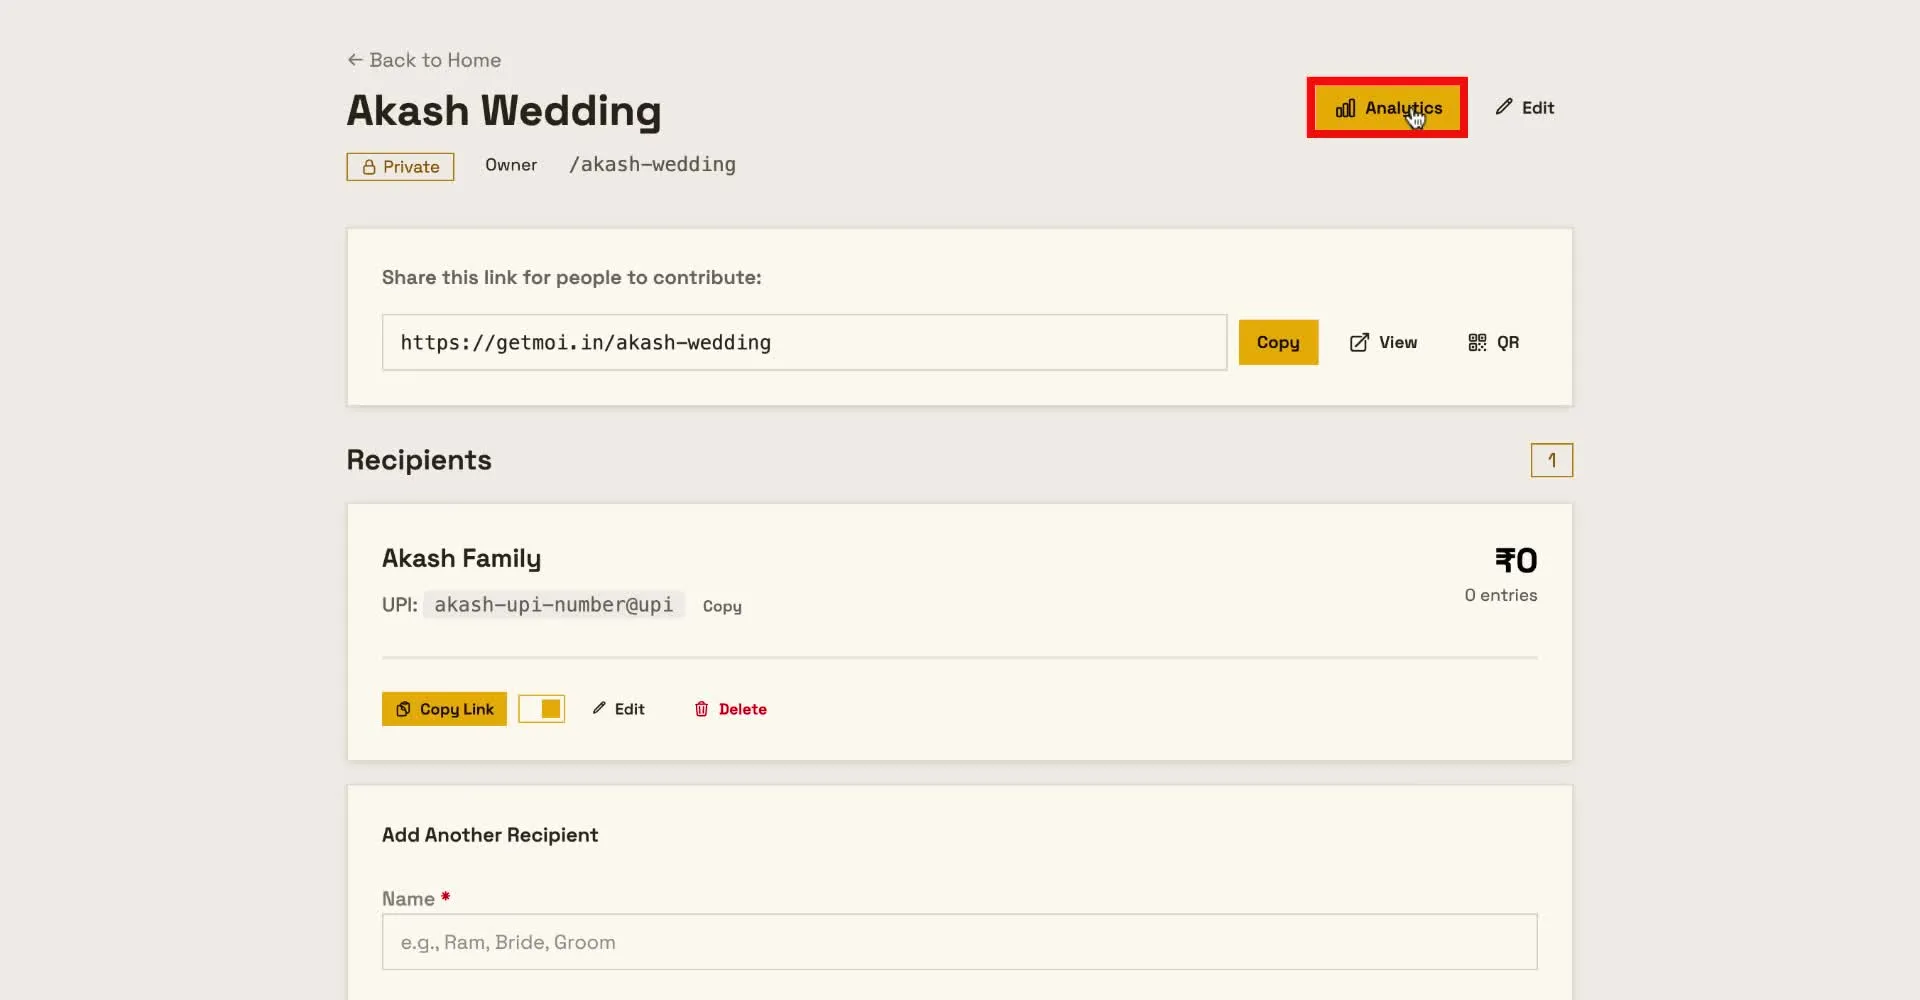
You can also open Analytics from the same bar to see contributions and activity for the event.
For the wedding card, the main thing you need next is the QR code that points to this same link.
4. Open the event and get the QR code
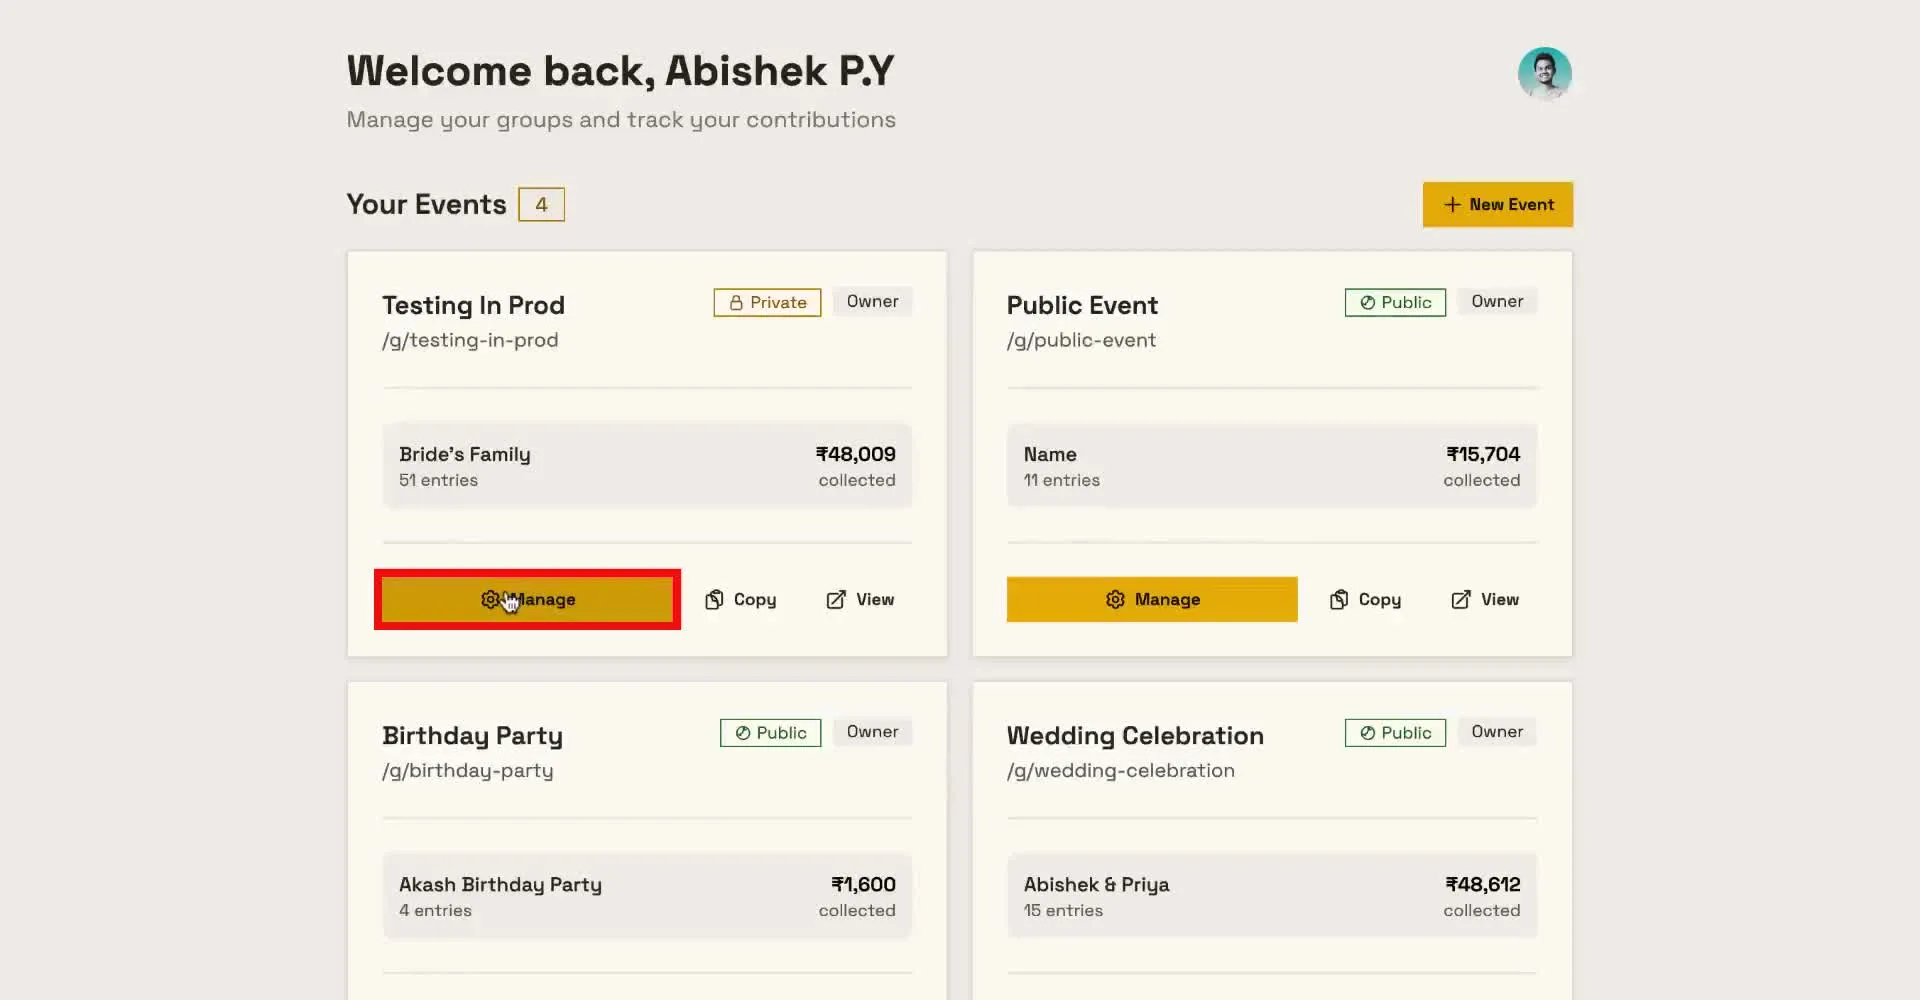
Go to your event list and click Manage on the event (e.g. “Testing In Prod” or your real event name).
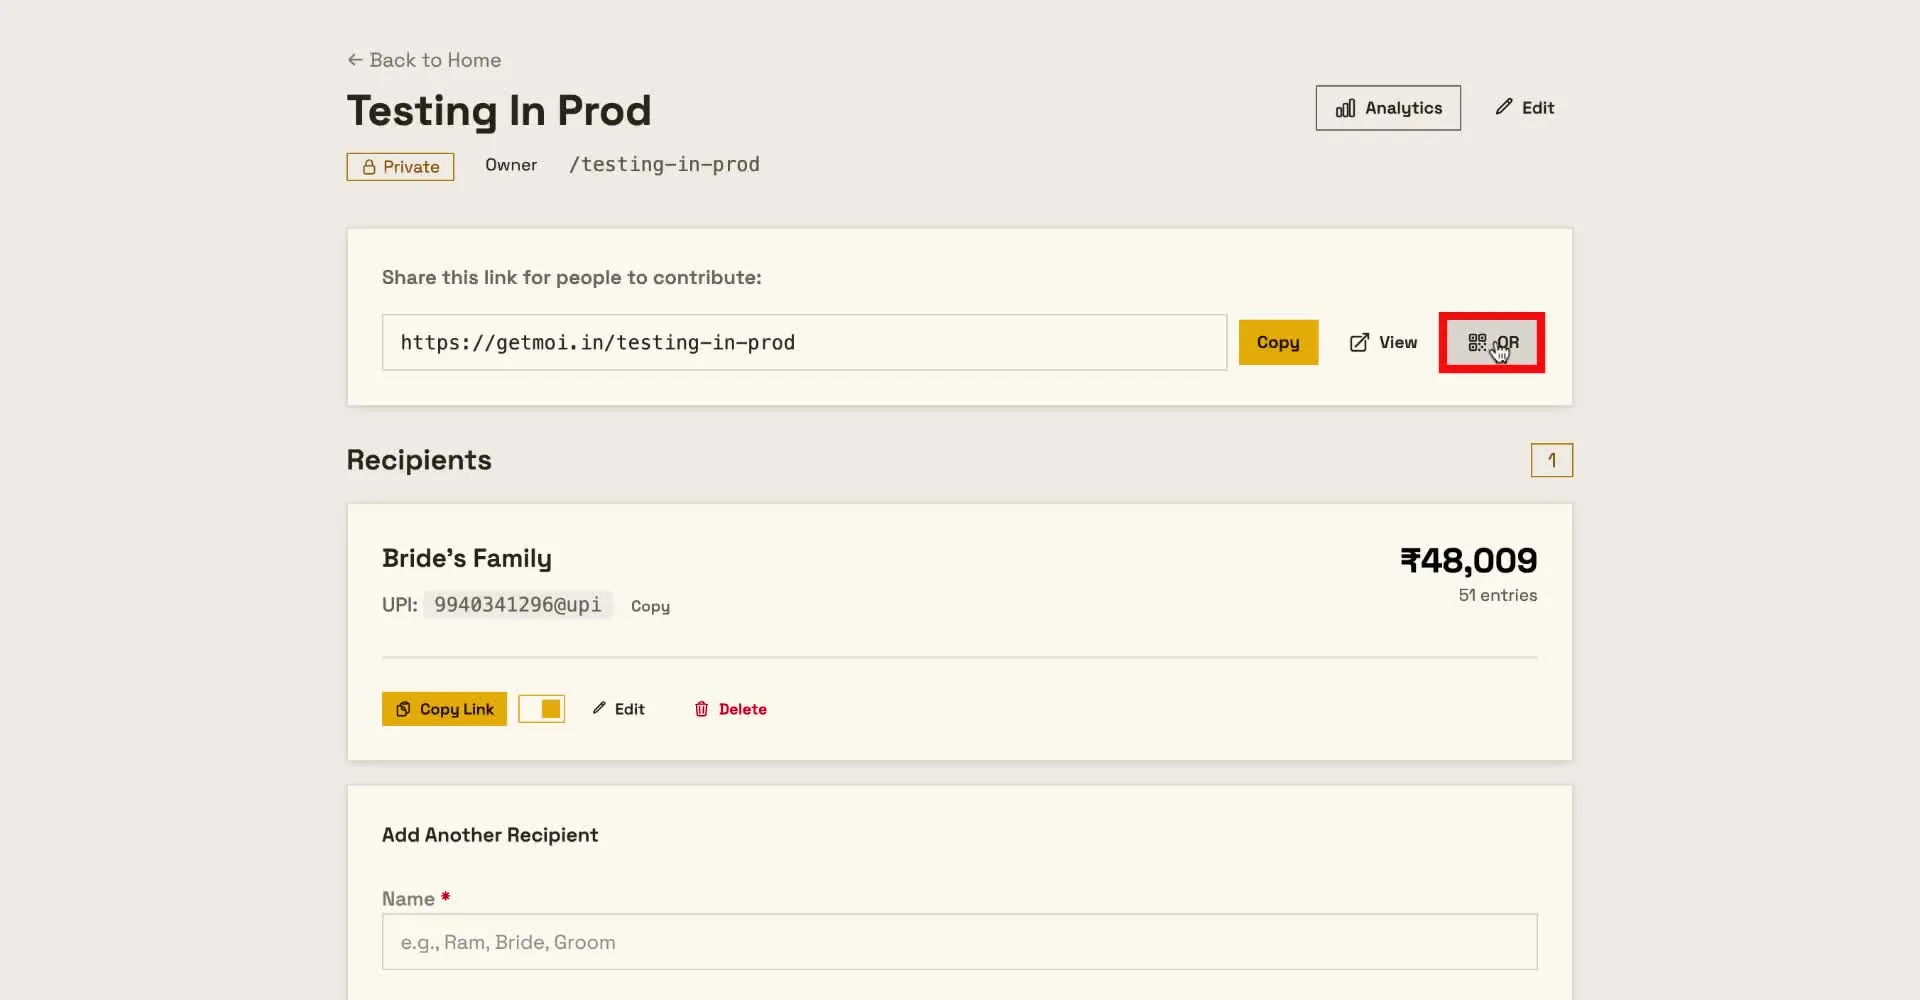
On the event details page, next to the contribution link you’ll see a QR icon. Click it to open the QR code.
In the QR modal, click Download QR Code to save the image. Use that file with your designer or printer for the wedding card.
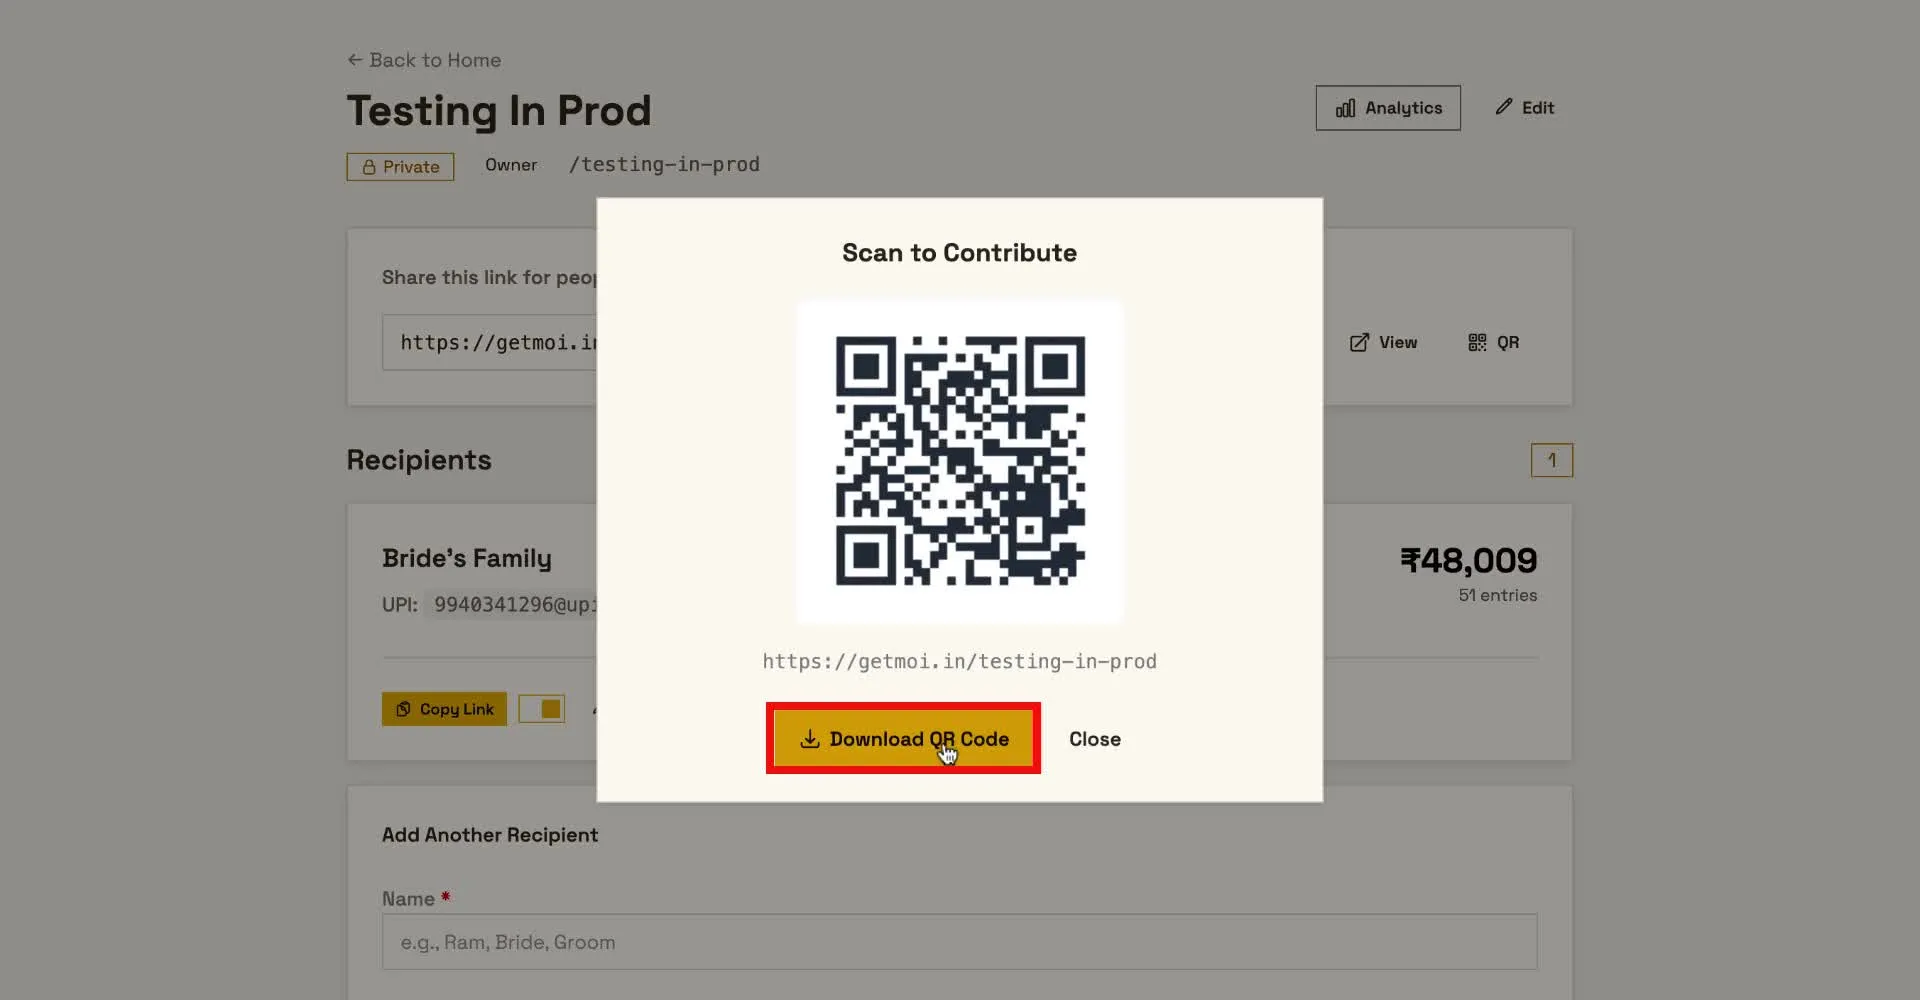
That’s it. The downloaded QR code encodes your contribution link. When guests scan it, they open the same page as the link—no app install, no signup for them. They pay via UPI as usual; you track who gave what in Moi.
Tips for using the QR on the card
- Print size: Make the QR code large enough to scan easily—usually at least 2–3 cm on the card. Test by scanning a printout before bulk printing.
- Contrast: Keep the QR area clear (no patterns or text over the code) and ensure good contrast (e.g. dark on light) so phones can read it reliably.
- Test the link: Before finalising the design, open the link from your phone and do a small test payment if you can. Confirm the correct UPI ID receives the money and the contribution shows in Moi.
- Same link everywhere: Use the same contribution link (and thus the same QR) on the card, in messages, and on any digital invite. One link keeps tracking simple and consistent.
If you’ve already set up UPI for your function and just need a clean way to get the link onto the card and track who gave what, this flow—create event → add recipients → copy link → download QR and put it on the card—is all you need.
Try Moi for your next celebration
One link for guests. Real-time tracking. UPI, cash & gifts in one place.
Get started free